Writing a blog and launching your own website is one of the most powerful things you can do online. Whether you are setting up a new business, starting a hobby, sharing stories, or building a professional portfolio, WordPress is a fantastic platform to get your voice out there.
Previously, creating a website required sophisticated coding skills like HTML, CSS, and PHP. Today, it is much simpler. It feels like typing a document in a word processor.
In this comprehensive guide, we will take you through the exact steps to build your own WordPress website from scratch in under 20 minutes.
The 6 Steps to Launch Your Website
- Pick your blogging platform.
- Choose a domain name.
- Select a web host and register your site.
- Customize your theme.
- Learn how to add pages and posts.
- Build your audience and plan your brand.
1. Pick the Right Platform
There are many blogging platforms out there, such as Blogger, Tumblr, and Wix. However, one platform dominates the web for good reason: WordPress.
WordPress powers over 40% of all websites on the internet. It is free, open-source, and has a massive community of developers.
[!NOTE] Make sure you are using self-hosted WordPress.org, not WordPress.com. The self-hosted version gives you full ownership over your files, domain, and monetization options, whereas the free WordPress.com platform has severe restrictions on ads and custom plugins.
2. Choose Your Domain Name
Your domain name is your online address (e.g., atheme.net). It is the first impression visitors get of your brand, so it needs to be catchy and memorable.
Tips for Choosing a Domain Name:
- Keep it simple: Aim for 2 to 3 words at most.
- Make it easy to spell: Avoid double letters or complex words.
- Stick to .com: It remains the most recognized and trusted domain extension.
- Avoid numbers and hyphens: These are difficult to communicate verbally and easily miskeyed.
3. Select a Web Host and Deploy WordPress
To put your site online, you need to lease space on a web server. This service is called web hosting.
A popular, beginner-friendly host officially recommended by WordPress is Bluehost. They offer a free domain name, single-click WordPress installation, and solid uptime guarantees.
Setting Up Your Account:
- Go to Bluehost.com and click Get Started.
- Select your plan (the Basic plan is perfect for beginners).
- Enter your chosen domain name.
- Fill in your account and billing information.
- In your control panel, navigate to 1-Click Installs and click the WordPress icon to automatically deploy your site.
4. Find and Customize Your Theme
Once WordPress is installed, you can log in to your dashboard at yourdomain.com/wp-admin/. This is your command center.
To change the design of your site, go to Appearance > Themes > Add New.
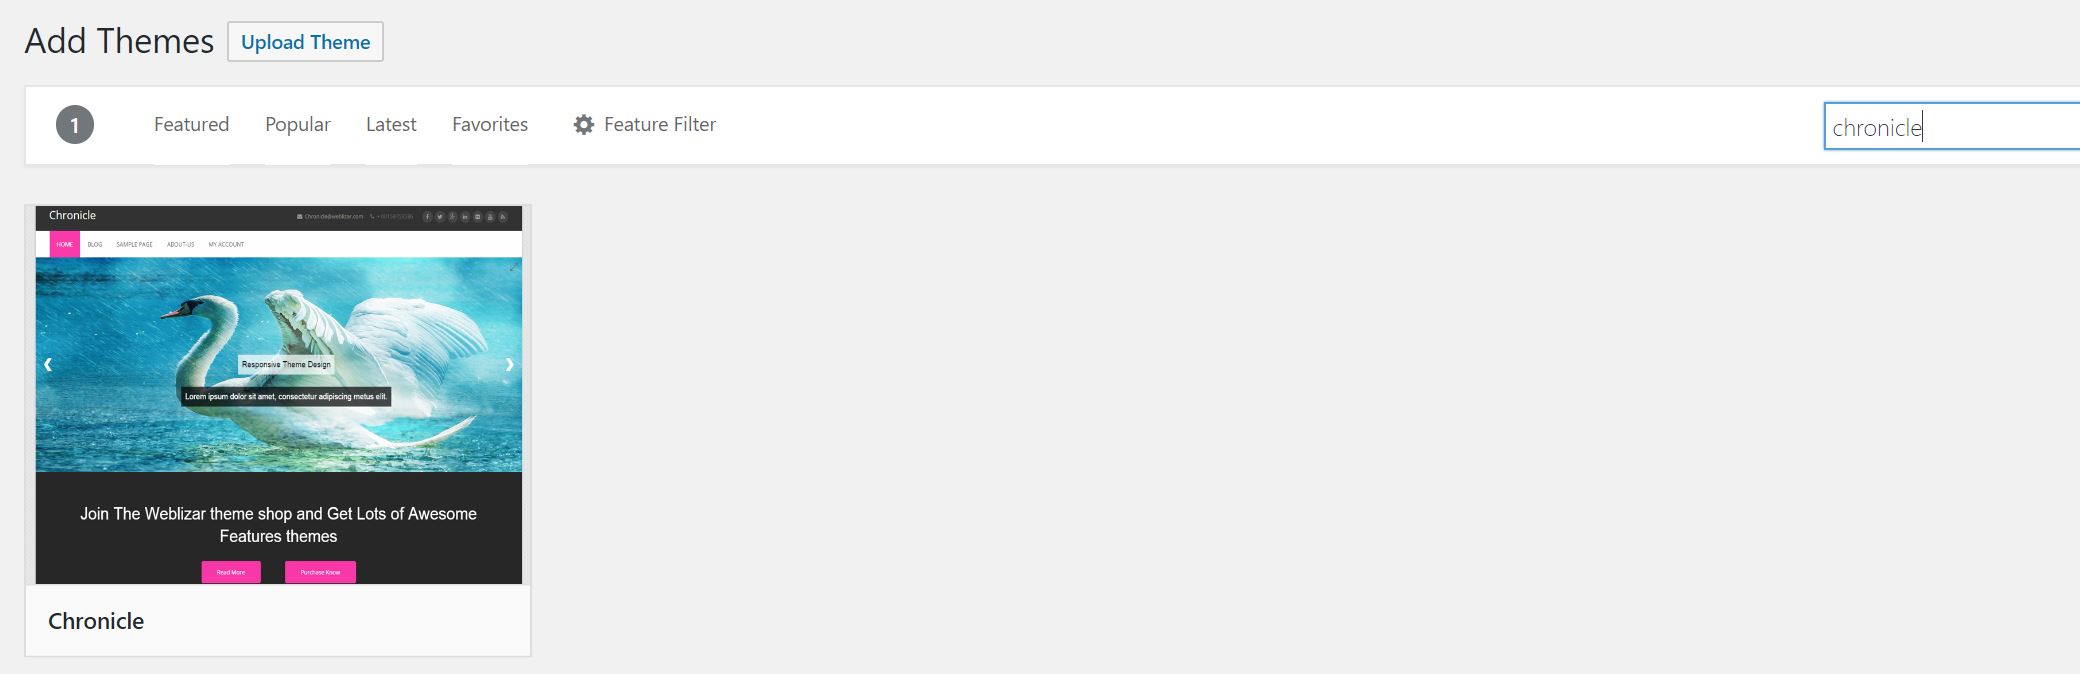
What to Look for in a WordPress Theme:
- Responsiveness: Ensure the theme displays properly on mobile phones and tablets.
- Speed: Heavy themes slow down your loading times. Look for lightweight designs.
- SEO Ready: Check reviews to ensure the theme generates clean markup (such as proper
H1layouts and Schema data).
5. Add Content: Posts vs. Pages
In WordPress, content is split into two primary types:
- Pages: Static, long-term content that doesn’t change often (e.g., your About page or Contact page).
- Posts: Dynamic, chronological articles that appear in your blog feed (e.g., your guides and reviews).
To add a new article, navigate to Posts > Add New in your dashboard. You will be greeted by the block editor, where you can write headlines, paste images, and embed videos by simply pasting their URLs on a new line.
6. Build Your Brand and Plan for the Future
Building a successful website takes dedication. Once your site is live, prioritize these three habits:
- Consistent Content: Map out a basic editorial calendar. It is better to publish one high-quality post a week than ten rushed articles.
- Basic SEO: Learn how search engines index pages. Install an SEO plugin to manage your meta descriptions and titles.
- Audience Engagement: Share your posts on social channels or answer questions on forums like Quora, linking back to your articles when relevant.